· By Krypto Beats
How to install VST plugins into FL Studio | FL Guide
Discover how to Install and Use Plugins and VSTs with FL Studio
First, you should create a new folder on your hard drive where you’ll place all your new plugins (native plugins of FL will remain in the FL Studio folders). This will save you some time having to move the folder with each new version of FL you’ll install.
How to add and install VST Plugins in FL Studio | Tutorial with pictures
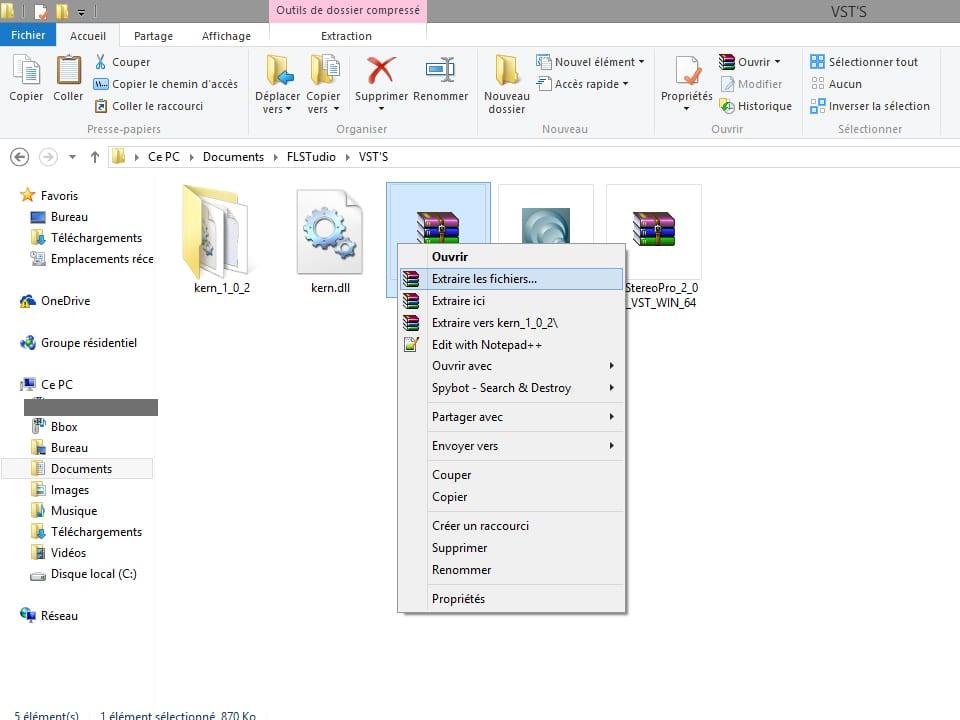
1 – Create a folder on your desktop / hard drive named VST’s then download the VST plugin you desire to that folder.
2 – Install the plugin if needed. Some may require extraction, just extract them to this folder and continue (you may get a choice during install to install as a VST Plugin and Stand Alone.

3- open FL Studio (if not already) in order to install the plugins.
Now you have to locate the folder containing your plugins.
To do this, go to the Options / file menu settings /

4 – Then, click on VST plugins extra search folder and select your file.

Orginal location of FL Studio Plugins VSTs is C:\Program Files (x86)\Image-Line\FL Studio 11\Plugins\VST
5 – Now to refresh your plugin list.
Channels / add one / more …

6 – And click on ‘refresh’
You have two options then :
Fast scan (quick check for new plugins on your disk)
– or –
> Scan & verify (same as the fast scan but check whether they are compatible with FL). I recommend it because it also allows you to separate VST plugins (effects) and VSTi (instruments).
 7- Select your favorite plugins (new VST are marked red) for faster access,

And now, make some noise! 🙂

